High Instep, Loose Heel? Use Two Lacing Tricks Together
Window lacing relieves pressure over a high instep, while a heel lock holds the rearfoot. Here is how to combine them, and when the shoe is simply too shallow.
August 27, 2026 · 8 min read
A high instep and a slipping heel can occur in the same sneaker, which makes the usual advice to “tighten the laces” about as useful as tightening them with your teeth. More tension across the middle crushes the top of the foot. Less tension lets the heel lift.
The useful answer is to give separate jobs to separate eyelets. Window lacing reduces tension through the middle rows, where the shoe crosses the highest part of the instep, while heel-lock lacing uses the final eyelets beside the collar to draw the rearfoot back and down.
This is unisex fit advice. The mechanics apply across men’s and women’s sneakers, though the amount of internal volume, meaning the usable space inside the upper, varies by model and cannot be predicted reliably from the gender label on the box.
The seven-eyelet test shoe
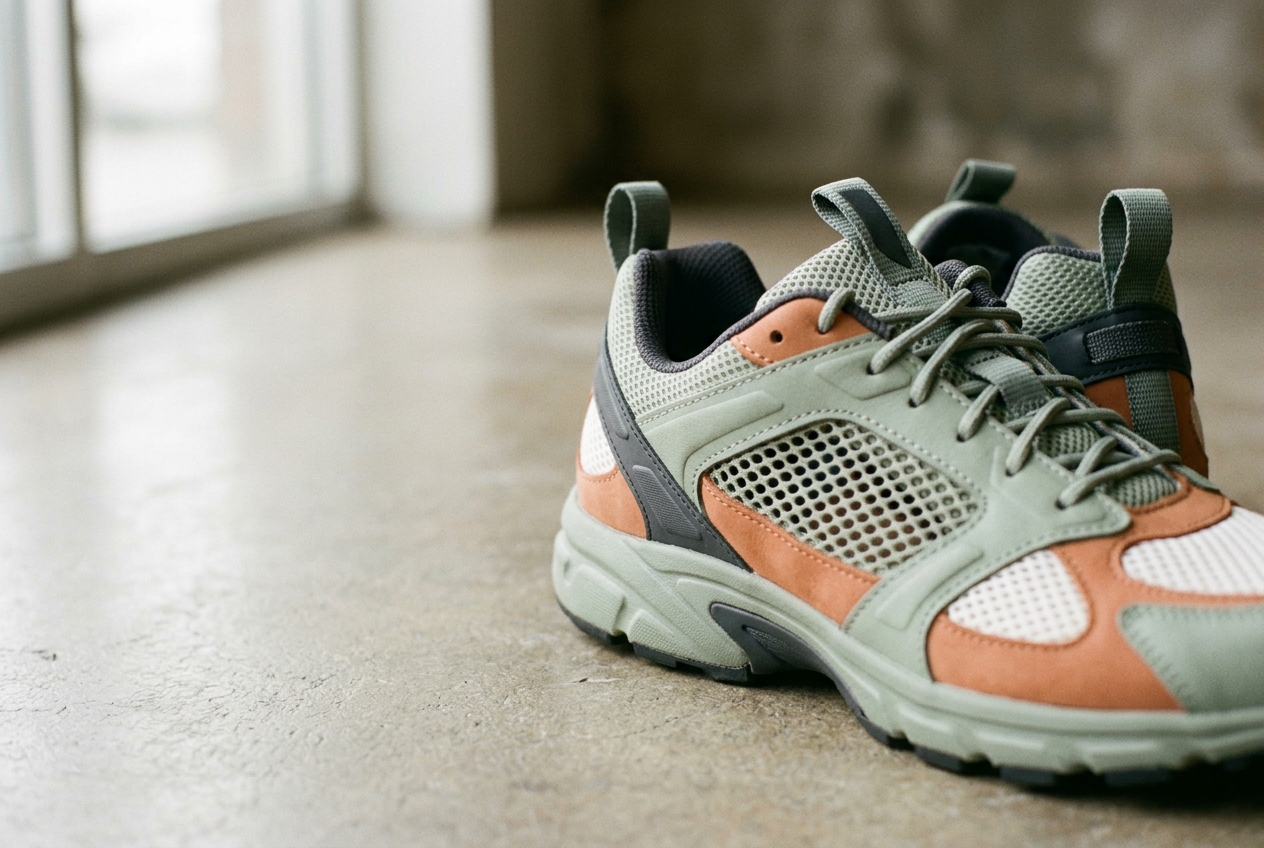
The concrete case here is a mesh running sneaker with seven paired eyelets, flat polyester laces, a padded tongue and an unused final eyelet near each side of the collar. It is a common arrangement in running and walking shoes, and it exposes the problem neatly: rows three through five sit over the instep, while rows six and seven control the collar.
Laced in a standard crisscross from bottom to top, the shoe’s middle rows pulled the tongue firmly against the top of the foot before the collar became secure. Loosening those rows relieved pressure but allowed visible heel lift during walking. The shoe was not too short, and the forefoot was not pinched; the conflict sat between the middle and rear sections.
Before changing the pattern, stand in the shoe and mark the pressure zone with a finger. Do not assume every high instep needs the same skipped row, because eyelet spacing and the position of overlays change from sneaker to sneaker. On this seven-eyelet shoe, the pressure aligned with rows three and four, so those became the window.
Use the socks you normally wear. A thick athletic sock consumes more space than a thin everyday one, and testing with the wrong sock can produce an elegant solution to a problem you will not have outside the house.
Build the window over the pressure point
Window lacing, sometimes called box lacing, leaves an uncrossed section over the sensitive area so the laces do not pull the two sides of the upper together at that point. The laces still pass through the eyelets, but they travel vertically rather than diagonally across the tongue.
Start with the sneaker unlaced down to the row immediately below the pressure zone. On the test shoe, that meant keeping the normal crisscross through rows one and two. Check that both lace ends are roughly equal before continuing; discovering one short end at the collar is harmless, but tedious.
From row two, feed each lace straight up through the next eyelet on the same side. Continue vertically through the second affected row if the pressure zone spans two rows. This creates two short rails along the sides and an open rectangle over the tongue, with no lace crossing the highest part of the instep.
Resume the normal crisscross at the first eyelet pair above the pressure zone. In the test shoe, the laces crossed again at row five, which restored some midfoot hold without dragging rows three and four inward. The window should sit over the pressure, not below it and not halfway up the ankle because the pattern looked pleasing there.
Pull the laces snug below and above the window, but leave the vertical sections under light tension. Yanking them tight can still pull the eyelet panels downward into the foot, particularly on a shoe with stiff synthetic overlays rather than flexible engineered mesh. Window lacing redistributes tension. It does not repeal it.
Walk for several minutes, including stairs if those are part of ordinary wear. The top of the foot should feel less compressed, while the forefoot remains stable enough that it does not slide forward. If the shoe now feels loose through the entire midfoot, use a one-row window rather than skipping two rows, or restore the upper of the two crosses.
Put the heel lock at the collar
Heel-lock lacing, also called a runner’s loop, uses the final two eyelets to tighten the collar around the rearfoot without adding much pressure over the instep. It works best when the sneaker has an extra eyelet set slightly behind or above the main row, as the seven-eyelet test shoe does.
Lace normally from the top of the window through the second-to-last eyelet pair. Instead of crossing the lace ends immediately, pass each end through the final eyelet on the same side, leaving a small loop between the last two eyelets. The loop only needs enough room to accept the opposite lace end.
Cross each lace over the tongue and thread it through the loop on the opposite side. Pull both ends outward and slightly downward before tying. That direction matters: pulling sharply upward can cinch the top edge into the ankle, whereas pulling back through the loops draws the collar toward the heel and seats the rearfoot more securely.
Tie the shoe with the foot flat on the floor and the heel settled against the back. Do not tie it while the toes are pointed, since that changes ankle position and often leaves the collar tighter once standing. The finished pattern should show a clear open window at the instep, normal crossing above it, then two small locking loops at the collar.
On the test shoe, this division of labor was the point. Rows three and four stopped pressing downward, row five kept the upper from becoming baggy, and rows six and seven secured the collar. Tightening every row equally had asked one strip of polyester lace to solve incompatible fit problems. It responded with discomfort, which was fair.
Heel-lock lacing can create new irritation if the collar is already stiff, sharply curved or too low for the ankle. Check for rubbing around the opening and pressure on the front of the ankle. If the heel feels secure only when the loops are pulled hard enough to leave marks, the rear shape of the shoe may not suit your heel.
Read the shoe before blaming the knot
A useful lacing adjustment should take only a few minutes and cost nothing. It can alter where the upper applies tension, but it cannot add material, raise the tongue seam or change the shoe’s last, meaning the foot-shaped form that determines its basic interior dimensions.
Look first at the tongue. In a workable fit, it should remain under both eyelet panels and cover the opening when the laces are comfortably tied. If the panels spread so far apart that the tongue edges barely reach them, or socks remain exposed beside the tongue, the shoe is probably too shallow over the instep.
Deep creasing or bulging in the mesh is another warning. A flexible upper can accommodate some height, but it should not look stretched before walking begins, and bonded overlays should not dig into the top of the foot after the window has removed direct lace pressure. Numbness, tingling or a concentrated hot spot means the experiment is over for that wear session. Pain is not a break-in method.
Also inspect the lace length and eyelet angle. If the heel lock leaves too little lace for an ordinary bow, longer laces are a cheap, sensible change. If the eyelet panels are being pulled upward and outward rather than lying along the foot, longer laces will make tying easier but will not create more vertical room.
Removing a thick removable sockliner can reveal whether a small increase in volume changes the fit, but walking without the intended sockliner may alter cushioning, heel depth and support. Treat that as a diagnostic check, not an automatic long-term fix. A thinner compatible insole is an option only if the shoe remains stable and the manufacturer’s construction allows replacement.
When to change shoes instead
If window lacing reduces pressure but the tongue still splays, the upper still bulges and the heel lock must be pulled aggressively, return or replace the shoe. Look for a model described as higher volume or available in a fit built with more instep depth. A wide size may help when the forefoot is also compressed, but extra width does not guarantee extra height through the midfoot.
Going up half a size is equally uncertain. It may add a little volume, yet it also adds length and can move the shoe’s flex point away from the ball of the foot, leaving more heel movement than before. Compare another model in the correct length before buying a longer shoe solely to house a taller instep.
The seven-eyelet sneaker passed the lacing test because its mesh upper had enough capacity once pressure was removed from the middle rows, and its separate collar eyelets could control the heel. A shoe with a one-piece, tightly gusseted tongue or rigid midfoot cage may offer much less adjustment. No knot deserves overtime.
Questions people ask
Which eyelets should I skip for a high instep?
Skip the crossovers at the eyelet pair or pairs directly beside the highest, most pressured part of your instep. Run each lace vertically up the same side through that zone, then resume crossing above it. Do not automatically skip the lowest rows or the final collar eyelets, since they control different parts of the fit.
Can
I use window lacing and a heel lock together?
Yes. Window lacing belongs in the middle rows that press on the instep, while the heel lock uses the final two rows near the collar. Combining them lets the midfoot remain less compressed while the rearfoot stays seated, provided the shoe has enough interior depth and a collar shape that matches your heel.
Why does my heel still slip with a runner’s loop?
The collar may be too wide, too low or the wrong shape for your heel, or the shoe may be too long. Retie the lock with your heel seated and pull the lace ends outward and down. If stopping movement requires painful tension, lacing is masking a fit mismatch rather than correcting it.
How can I tell whether a sneaker is too shallow?
Watch for widely spread eyelet panels, a tongue that cannot cover the opening, bulging upper material and persistent top-of-foot pressure after window lacing. If loosening the middle fixes pressure but destroys stability, and tightening the collar causes new pain, try a higher-volume model rather than a more elaborate knot.
One update a day
Today's fashion update, in your inbox
One fashion update each morning — no hype, no filler, just pieces worth wearing.