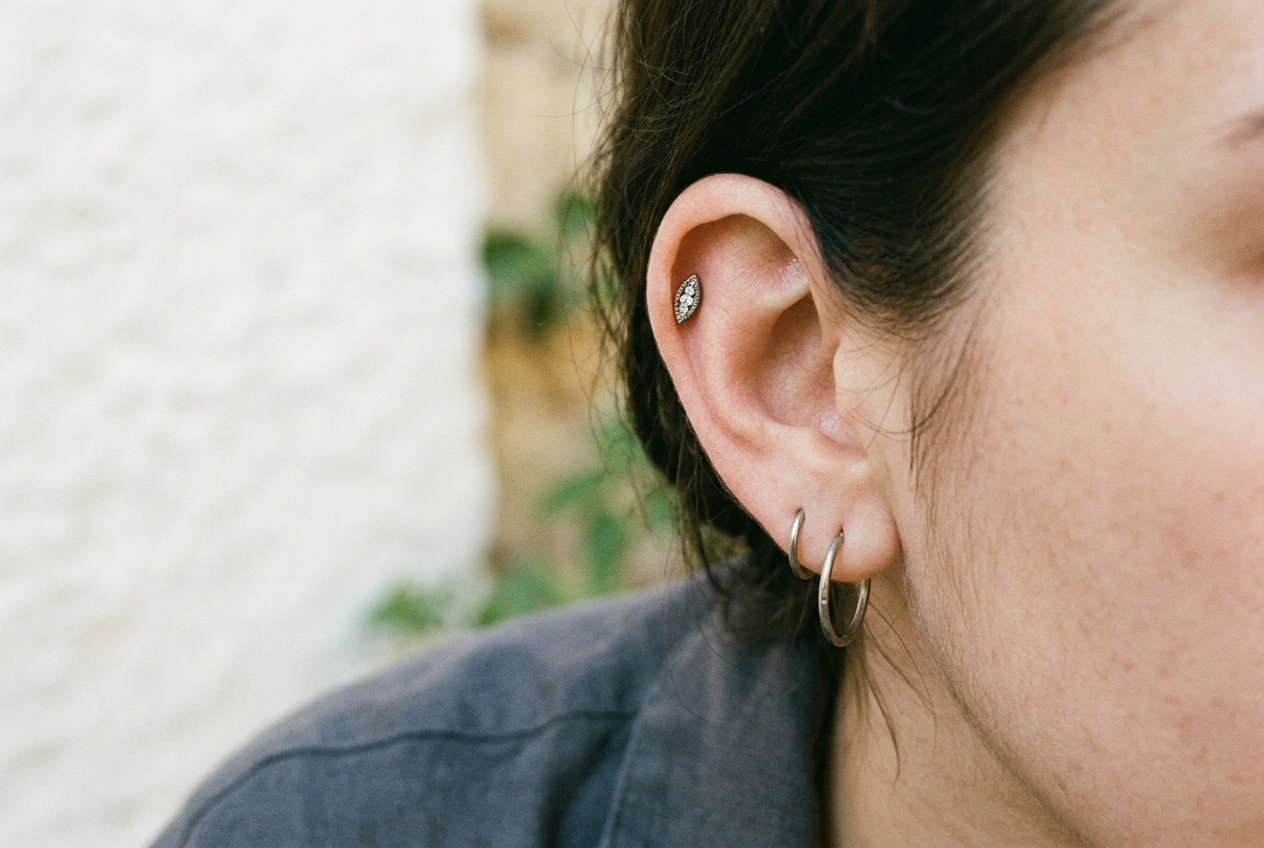
Close Piercings Make Earrings Clash. Measure These Three Things
A stud’s front diameter, a hoop’s tube thickness, and the angle of each piercing determine whether a close stack sits neatly or pushes itself apart.
September 16, 2026 · 7 min read
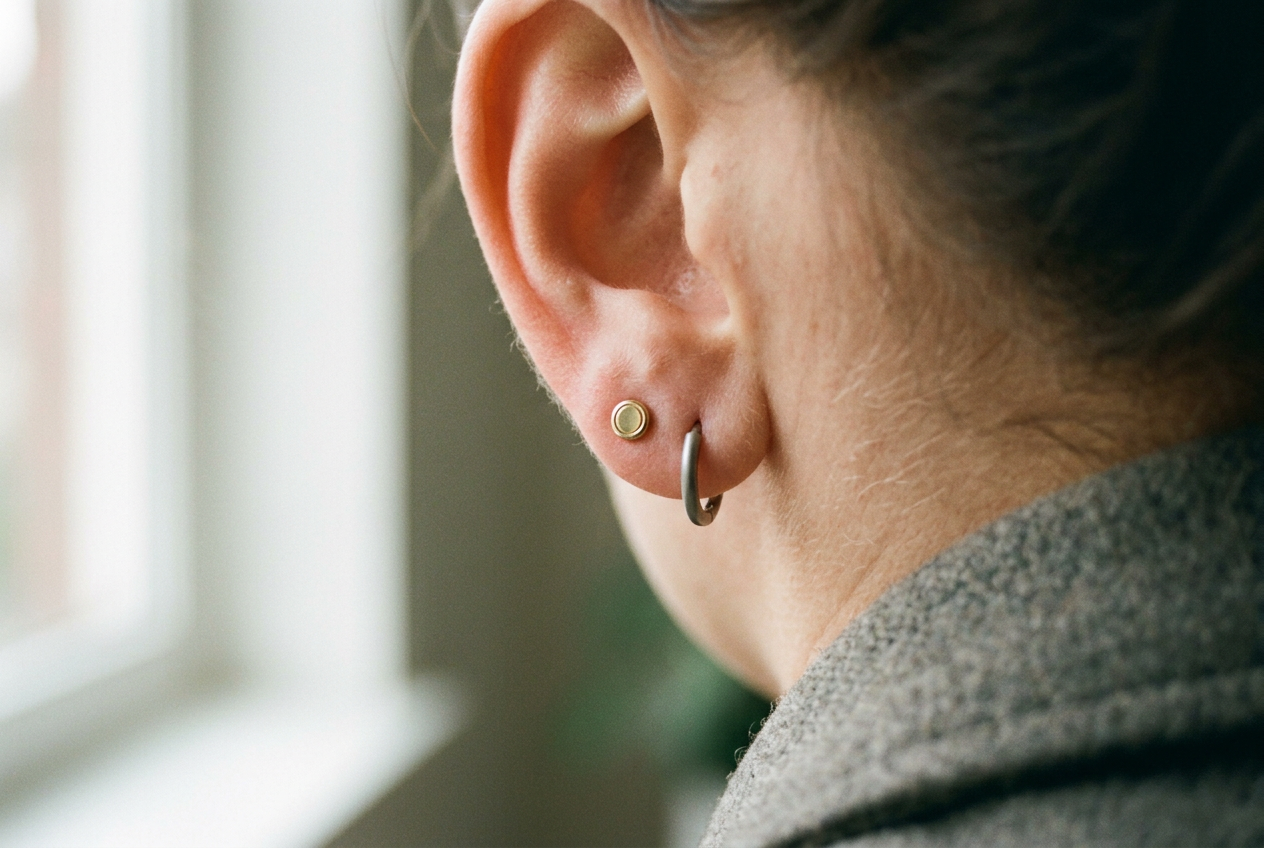
The fitting case is a 4 mm bezel-set stud in a first lobe piercing beside a titanium huggie with a 7 mm inner diameter and a 1.5 mm-thick tube. The holes sit about 5 mm apart, measured from center to center. Both earrings fit individually.
Together, the stud’s gold rim touches the side of the hoop, while the hoop rotates away from the ear to escape the pressure.
That small collision is the problem this walkthrough solves. Product photography rarely shows how much room an earring occupies beside another piece, and measurements that sound tiny on a listing become decisive when two piercing channels sit only a few millimeters apart.
This is unisex fit advice. Ear anatomy and piercing placement matter here, not the department where the jewelry is sold.
Start with the space between the holes
Measure from the center of one piercing opening to the center of the next. This is the center-to-center spacing, meaning the distance between the points where the jewelry enters the ear. A clear ruler and a straight-on phone photo are enough for a useful estimate, though small calipers can give a more exact reading on fully healed piercings.
Do not press measuring tools into a tender or fresh piercing. If the jewelry cannot be removed comfortably, leave it in place and ask a reputable piercer to check the spacing during a downsizing or fitting appointment.
The 5 mm measurement in the fitting case does not mean there is 5 mm of empty space. A 4 mm stud extends about 2 mm from its center toward the neighboring hole. If another 4 mm stud sits there, its face also extends 2 mm in the opposite direction, leaving roughly 1 mm between their edges.
The useful equation for two round studs is straightforward: subtract half of each front diameter from the center-to-center distance. Two 5 mm fronts on holes spaced 5 mm apart have no theoretical gap at all. Any tilt, raised rim, or slight difference in placement can make them overlap.
Use the equation as a starting point rather than a promise. Earlobes curve, decorative settings are not always perfectly round, and jewelry listings may give the stone size without including the surrounding bezel or prongs.
Measure the front, not only the post
Front diameter is the full visible width of the stud, including its setting. It matters more to stack spacing than post length, which controls how much room the jewelry has through the tissue rather than how much surface it covers.
The anchor stud measures 4 mm across its outer gold bezel. A smaller stone inside that rim does not make it a smaller earring. This distinction catches shoppers who compare a listing’s gem measurement with the full width of a plain metal ball, then discover that the supposedly petite gem occupies more space.
For a close two-stud stack, aim to preserve a visible sliver of skin between the fronts. That gap keeps the arrangement legible and gives the earrings room to move when the lobe bends against a phone, scarf, or pillow. If the measured fit leaves less than about a millimeter on paper, a tilted piercing can erase it.
A flat-back earring, meaning the post’s backing sits flush against the earlobe, can improve comfort without fixing front overlap. Its backing may stop the earrings from snagging or poking behind the ear, but a broad decorative face will still collide with its neighbor.
In the 5 mm case, replacing the 4 mm bezel stud with a 3 mm front creates another half millimeter of clearance on that side. It sounds negligible. On the ear, it is often enough to stop one setting from riding over the other.
Scale down only the piece beside the collision. Two uniformly tiny studs can lose the deliberate graduated look that makes a stack work, while one compact metal dot beside a larger bezel keeps the visual emphasis and solves the mechanical problem.
Count the hoop’s tube thickness
A huggie is a small hinged hoop designed to sit close to the ear. Its advertised diameter is often the inner diameter, the open space measured across the inside of the circle, rather than the hoop’s total outside width.
Tube thickness changes that total. The 7 mm huggie in the fitting case has a 1.5 mm tube, so its outside diameter is about 10 mm: 7 mm inside, plus 1.5 mm on each side.
A thinner hoop with the same inner diameter occupies less frontal space and is less likely to press against the neighboring stud.
This is why buying a larger inner diameter does not always solve a crowded stack. A larger hoop may clear the bottom edge of a thick lobe, yet its wider arc can reach farther toward the adjacent earring. A smaller hoop may also fail if its tube is chunky or if the hinge housing adds width near the piercing.
Before buying, look for both inner diameter and thickness. If a listing gives only one measurement, the product photo beside a ruler is more useful than a styled ear image, and a retailer with clear hygiene and return terms reduces the cost of getting the geometry wrong.
A paper mock-up helps. Draw the hoop using its stated inner diameter, add the tube thickness around the outside, and cut out the resulting ring. Hold the top edge at the piercing opening without pushing it into the hole. The paper will not reproduce depth or ear curvature, but it reveals whether a thick hoop’s neighboring edge is likely to cover the stud.
For the anchor pair, changing from a 1.5 mm tube to a slimmer hoop matters more than adding another millimeter of inner diameter. The hoop keeps its close fit beneath the lobe, while the side nearest the 4 mm bezel retreats enough to let both pieces face forward.
Piercing angle can cancel perfect measurements
Two holes can be evenly spaced at the skin and still send earrings toward each other. A piercing angle is the direction the channel takes through the tissue. When neighboring channels lean inward, stud fronts meet sooner and hoops twist as their weight follows the channel.
Check healed piercings with simple, lightweight studs that have similar post thickness. Gauge, meaning the thickness of the post itself, should match what the piercing comfortably wears. Let the earrings settle without tightening the backs against the lobe, then view the ear straight on and from above. Fronts that tip toward each other reveal the conflict.
Do not force them flat by shortening the post or clamping a butterfly back tightly. Pressure can pinch the tissue, and it hides the angle only until the ear moves. A threadless labret, meaning a straight post with a removable push-fit front and a flat disc at the back, makes swapping to a smaller decorative end easier, but the post still needs suitable room for the anatomy.
An angled second piercing often wears a small stud better than a hoop because the stud has less leverage. If a hoop consistently rotates outward, try it in the lower hole and move the compact stud above it. The same two earrings can sit cleanly when their positions change, since the lower hoop has more open space beneath the lobe and the upper stud no longer pushes into its side.
Spend on the fit you can keep wearing
Implant-grade titanium, a body-compatible metal made to recognized implant standards, is a practical material for testing a long-term stack because it is lightweight and commonly offered in precise post and hoop dimensions. Solid 14k or 18k gold costs more, particularly when the front includes stones or detailed settings, so confirm the diameter before paying for the decorative version.
Avoid solving a spacing problem with mystery-metal earrings bought only as a cheap trial. Plating can wear at contact points, and irritation makes it difficult to tell whether the size or the material caused the discomfort. Paper templates and known-quality titanium are better fitting tools.
The 4 mm gold bezel in the anchor pair is worth keeping because it supplies the visual focus. The replaceable part is the thick titanium huggie. A slimmer tube preserves the intended gold-and-silver contrast without asking the piercing to hold two fronts in the same patch of skin.
Fresh, swollen, or painful piercings are outside a home styling exercise. Leave the jewelry in place unless a piercer or medical professional tells you otherwise, and wait until the site is healed before treating post length, hoop diameter, or stack order as a fashion adjustment.
Questions people ask
How much space should sit between two earring studs?
A narrow visible line of skin is usually enough, but calculate the fit before relying on appearance. Subtract half of each stud’s full front diameter from the center-to-center piercing distance. If the result is near zero, choose a smaller front because normal tilting and movement will make the studs overlap.
Why does my hoop turn sideways beside a stud?
The stud may be pressing against the hoop’s tube, or the piercing channel may angle the hoop outward. Compare the hoop’s outside width, including tube thickness, with the available space. If a slimmer hoop still rotates, move it to the lower piercing or have the healed piercing angle checked.
Will shorter posts stop closely spaced earrings from overlapping?
Not usually. Post length affects how tightly an earring sits through the tissue, while overlap happens at the decorative fronts. A shorter post can create pressure without reducing front diameter. Keep an appropriate post length and change the size, shape, or order of the visible pieces instead.
Can
I measure spacing while my piercings are healing?
Use a straight-on photo and an external ruler only if you can do so without touching or moving the jewelry. Do not remove fresh earrings for a stack fitting. Swelling also distorts the final spacing, so wait for healing and any piercer-led post downsizing before buying tightly fitted studs or huggies.
One update a day
Today's fashion update, in your inbox
One fashion update each morning — no hype, no filler, just pieces worth wearing.