Your Studs Need More Space Than They Show at Rest
Two studs can clear each other in the mirror and still knock together under a headphone cushion. A diameter-based paper mockup catches the problem before you buy.
November 3, 2026 · 7 min read

A 5 mm round stud beside a 4 mm stud looks tidy on a still earlobe. The edges are distinct. Turn your head, smile broadly, or press an over-ear headphone cushion against the arrangement, however, and that narrow line of skin can disappear.
That was the useful failure in my test stack: a 5 mm domed lower-lobe stud paired with a 4 mm domed stud above it, with approximately 5.5 mm between the centers of the piercings. At rest, the fronts had about 1 mm of visible clearance. Under pressure, the upper front tilted toward the lower one and the edges touched.
Nothing was wrong with either earring. The diameters were wrong together.
This is unisex advice because the geometry does not change with wardrobe or gender. Ear shape, piercing angle, soft-tissue movement, post length, and the accessories worn around the ear do change, which is why copying another person’s millimeter stack rarely gives an exact fit.
Start with the fronts, not the posts
Jewelry listings often foreground post length and gauge. Those measurements matter for comfort and compatibility, but they do not tell you whether two decorative fronts will overlap. For spacing, you need the widest outside measurement of each front, including any bezel, frame, prong, or projecting stone.
A bezel is the rim of metal that surrounds and holds a stone. It counts. So does a halo, even if the central stone is the number named most prominently in the listing. A nominal 3 mm gem set inside a wider metal border does not occupy only 3 mm of the ear.
For two round fronts, the resting edge-to-edge clearance can be estimated with one calculation:
Center-to-center distance minus half of the first diameter minus half of the second diameter.
In the test stack, that was 5.5 mm minus 2.5 mm minus 2 mm, leaving 1 mm. The arithmetic explained what the mirror showed: the pair fit, but only in a neutral position with both fronts sitting squarely.
One millimeter is visible breathing room, not guaranteed movement room. A domed front can lean farther than a flat disc because its outer edge sits above the skin, while a post with spare wearable length lets the entire earring change angle when fabric, hair, a pillow, or a headphone pad pushes against it.
Make the millimeter mockup
You do not need a jewelry sizing kit. A ruler with millimeter marks, plain paper, scissors, removable tape, and a clear photograph of your ear are enough for a first pass. Digital calipers, a sliding measuring tool that reads small dimensions, help if you already own the earrings and the manufacturer does not list the complete front size.
Photograph the ear straight on with your head level. Hold a ruler in the same plane as the earlobe, close enough to provide scale without pressing or distorting the tissue. Phone cameras can stretch objects near the edge of the frame, so keep the ear and ruler near the center and treat the image as a layout aid rather than a clinical measurement.
Mark the center of each piercing hole on the printout or screen image. If the earrings are already installed, use the post position as closely as you can rather than measuring from the decorative edge. An angled piercing can make the visible front sit slightly off-center, and the later movement test will expose that difference.
Next, cut paper circles in the exact advertised diameters. For the anchor pair, I cut one 5 mm circle and one 4 mm circle, marked the center of each, and placed those marks over the two piercing centers. The mockup reproduced the narrow 1 mm channel visible between the real fronts.
Do not round down. If a stud is listed as 4.5 mm, make a 4.5 mm circle; if its shape is a six-point star, sketch the full tip-to-tip outline rather than substituting a circle based on the stone alone.
Irregular fronts need to be rotated through the angle in which you intend to wear them, because a point directed toward the neighboring stud uses more space than a point directed outward.
Now make a second set of shapes one size smaller than the pair you first wanted. Replacing the 4 mm upper circle with a 3 mm circle increased the calculated resting gap from 1 mm to 1.5 mm. Reducing both positions, to a 4 mm lower stud and a 3 mm upper stud, produced 2 mm of clearance at the same piercing spacing and looked less crowded once the ear moved.
That does not make 2 mm a universal rule. The practical rule is to choose the smallest gap that remains open during your normal pressure tests, then add a little visual reserve if the fronts are domed, pointed, or loose on their posts. A stack that barely survives the mockup has no allowance for manufacturing differences or a setting that measures wider than the product shorthand suggests.
Test the movements you repeat
The smiling test is quick. Place the paper fronts over the piercing centers with skin-safe removable tape, relax your face, then smile broadly and turn your head in both directions while watching in a mirror or recording a short video. The earlobe may crease or shift, particularly when a lower piercing sits near the mobile edge of the lobe.
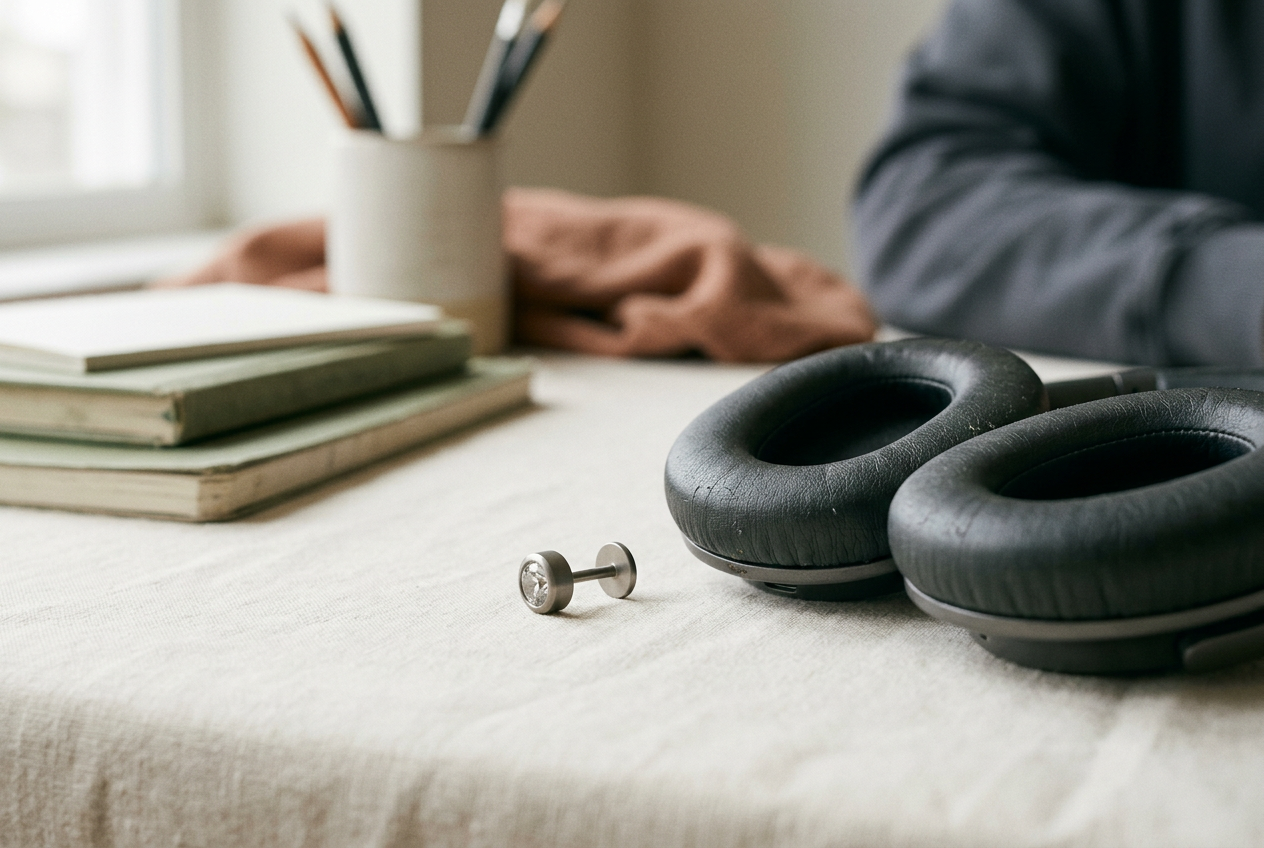
Next, put on the headphones you use most. Over-ear cushions can press the outer edge of a stack inward; on-ear headphones apply pressure more directly, and neither behaves like an unobstructed mirror check. If the mockup pieces touch, the metal versions have no movement reserve. Earbuds avoid that outer pressure, though their stems or removal motion may still catch a low or forward-facing stud.
For sleep, do not judge the stack by lying flat on your back. Press the side of your head into your usual pillow for a few minutes, then check whether the fronts have rotated or crowded each other. A flat back earring, meaning the post’s backing sits flush against the earlobe, can reduce snagging behind the ear, but it cannot prevent two fronts from meeting on the visible side.
The 5 mm and 4 mm anchor pair passed the first glance and failed this pressure check. The upper dome leaned downward. The 4 mm and 3 mm mockup stayed separated more consistently, although the final comfort still depended on choosing posts without excessive slack.
Fresh or irritated piercings are not candidates for a taped movement experiment or casual jewelry changes. Leave their fitting and jewelry downsizing to a qualified piercer.
Post fit can undo good spacing
Once the diameters work, check the post. A threadless labret is a straight post with a removable pressure-fit front and a flat disc at the back. It is useful for curated ears because fronts can often be changed without replacing the post, but the wearable length still needs to suit the tissue.
Too little length can press. Too much lets the front tip, droop, and travel toward its neighbor. If two mathematically well-spaced studs still collide, compare the amount of post visible behind each front before buying smaller jewelry; a properly fitted shorter post may stabilize an established piercing, provided a piercer confirms that the tissue has enough room.
Construction changes the apparent size as well. A flat polished disc stays close to its paper outline, while a tall claw-set stone occupies vertical space and catches side pressure. Soft gold settings can also have fine prongs that should not be allowed to scrape repeatedly against the neighboring front. Implant-grade titanium and solid gold are common material options for everyday earrings, but paying more for either metal does not correct an overcrowded layout.
The paper method costs a few minutes and can prevent the more expensive mistake: buying a graduated set whose adjacent sizes all look reasonable separately but are too wide for your existing piercing map. If a retailer lists only stone size, ask for the complete outside diameter before ordering or choose a plain ball or disc with a clearly stated measurement.
The buying decision
For the tested 5.5 mm center spacing, I would skip the 5 mm and 4 mm pairing for daily wear. It fits as a posed arrangement, yet it asks the wearer to avoid the ordinary pressure of headphones and side sleeping. The smaller 4 mm and 3 mm combination gives up some visual impact but preserves the clean strip of skin that makes a graduated stack look intentional.
If you want the larger lower stud, shrink the upper front first. That keeps the visual weight at the primary lobe piercing, where a larger stone or metal dome usually has more room, while reducing the point most likely to tilt under the rim of a headphone cushion.
Keep the finished paper circles in the jewelry box or photograph them beside a millimeter ruler. They become a personal buying template, which is more useful than remembering that a stud was called small, mini, or tiny.
Questions people ask
How much space should sit between two stud earrings?
There is no universal gap because piercing angles, post slack, front height, and ear movement differ. Calculate the resting clearance from the complete front diameters, then choose a pairing that keeps a visible strip of skin during smiling, pillow pressure, and headphone wear. A gap that disappears in those checks is too narrow for that routine.
Do domed studs need more room than flat studs?
Usually, yes. A domed or tall-set front can tilt and bring its raised outer edge closer to the next earring, even when both pieces have the same listed diameter as flatter alternatives. Mock up the stated outline, then leave extra reserve rather than relying on the resting calculation alone.
Can shorter posts stop studs from overlapping?
They can reduce tipping when excess post length is the cause, but they cannot fix fronts that are wider than the available space. Established piercings may benefit from a better-fitted post. A qualified piercer should assess length, especially if the current jewelry presses, leaves an indentation, or the piercing is not fully healed.
Should
I measure the stone or the whole setting?
Measure the widest outside edge of the complete decorative front. Include bezels, halos, prongs, points, and metal borders, since those are the parts that can touch the neighboring earring. If only the stone measurement is listed, request the full front diameter or choose jewelry with clearer dimensions.
One update a day
Today's fashion update, in your inbox
One fashion update each morning — no hype, no filler, just pieces worth wearing.