Close Piercing Holes Need Better Shapes, Not Smaller Studs
When neighboring studs touch, front diameter is only part of the problem. A quick spacing map reveals which shapes, settings, and flat backs will sit cleanly.
November 6, 2026 · 8 min read
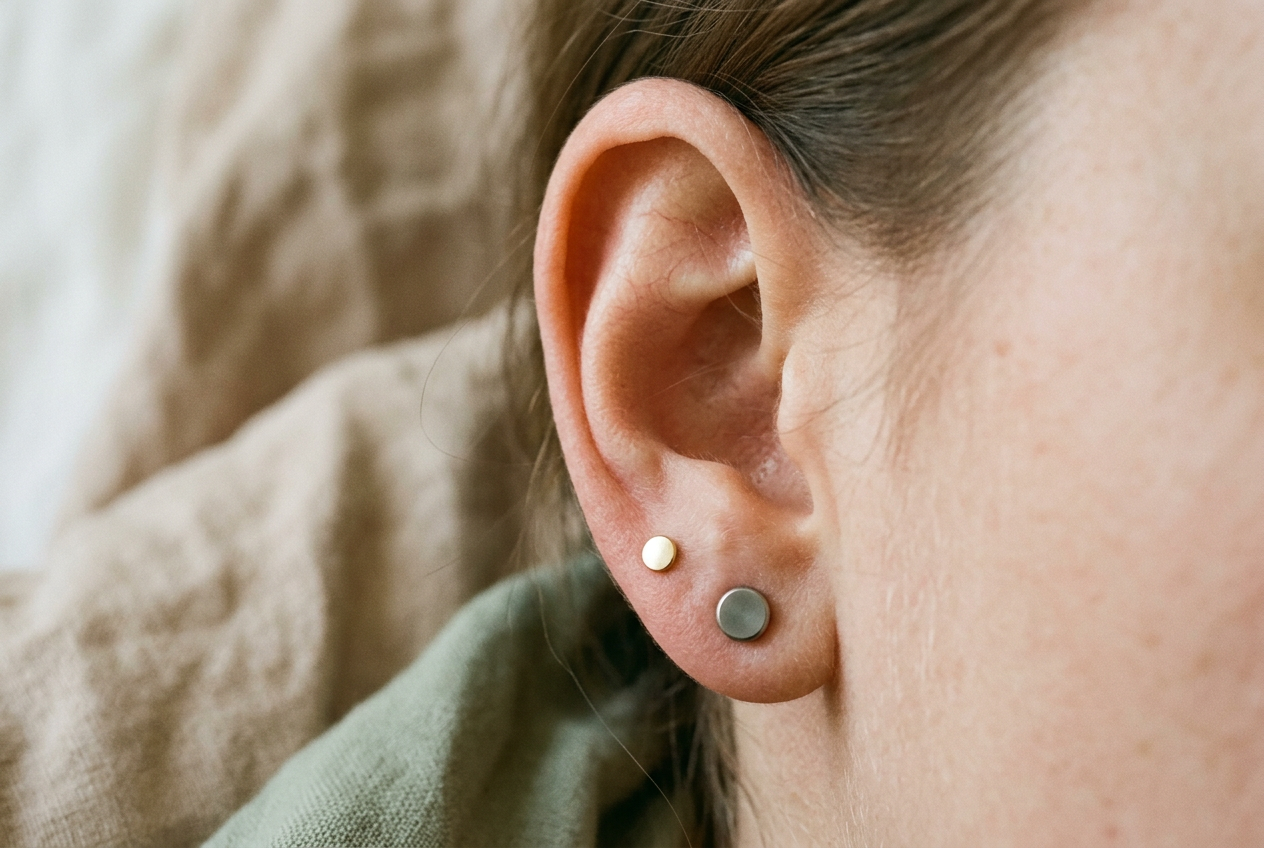
A 4 mm round stud can be small on the product page and crowded on the ear. Place another round front beside it, especially when two holes sit only a few millimeters apart, and the rims may touch before either earring has settled against the skin. One front lifts. The other tilts.
By evening, the pair looks less like a deliberate stack than two buttons competing for one spot.
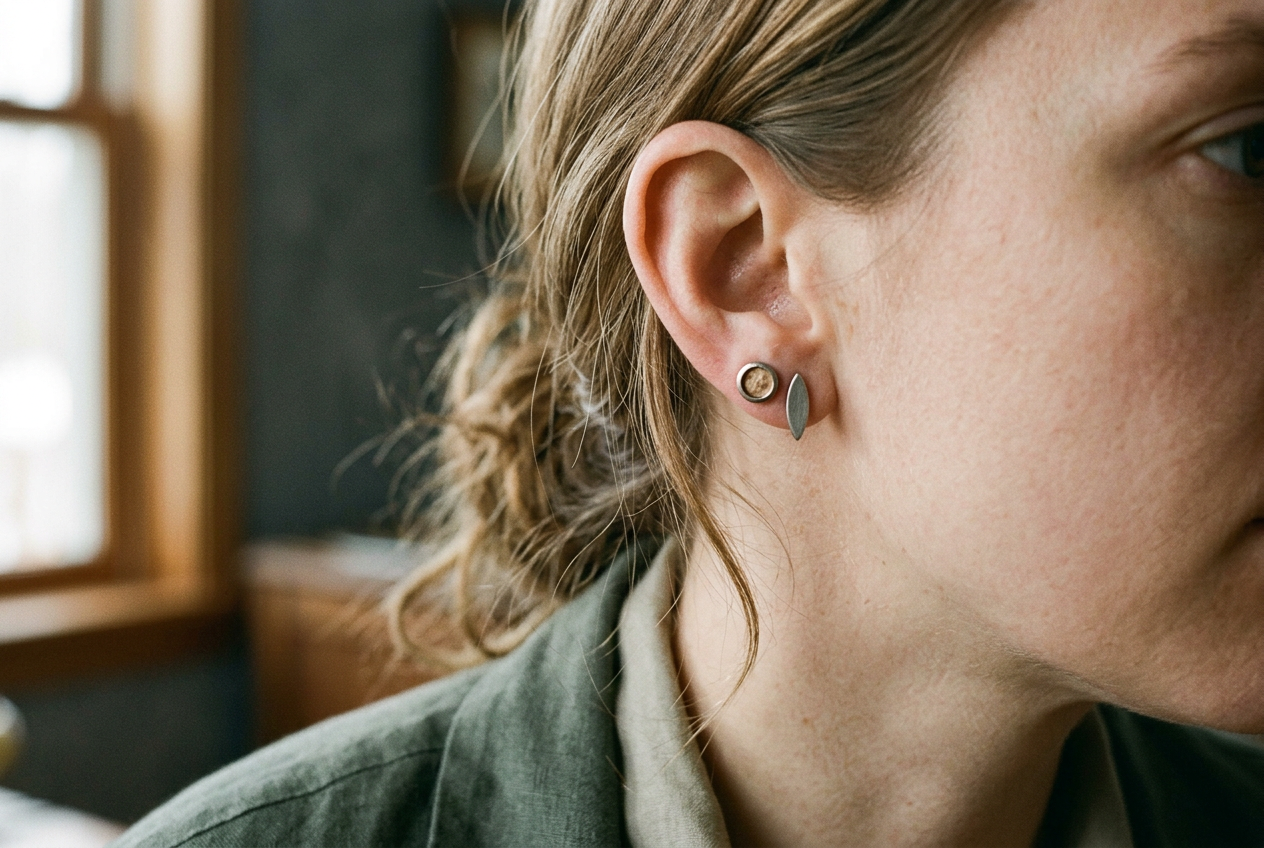
The working case here is a pair of healed lobe piercings spaced 5 mm apart from center to center. The intended stack uses a 4 mm round, bezel-set titanium end in the lower hole and a 2-by-5 mm marquise end in the upper one. Both attach to flat back earrings, meaning the post’s backing sits flush against the rear of the lobe. This is unisex fit advice; the mechanics do not change with the wardrobe around the jewelry.
That pairing can work. Its success depends on turning the marquise upright, keeping both settings low, and accounting for the fact that the upper piercing points slightly downward. Buying two 3 mm rounds instead would reduce the crowding, but it would also give up the shape contrast that makes a close stack readable.
Start with the distance between the holes
Photograph the bare ear straight on in even light, then place a small ruler beside it for scale. Measure from the center of one opening to the center of the next rather than measuring the visible strip of skin between them. Center distance is the useful number because jewelry fronts extend outward from the post in every direction.
Our two holes are 5 mm apart. If both earrings had 4 mm circular fronts and sat square to the ear, each would extend 2 mm toward its neighbor, leaving about 1 mm between their edges. That sounds workable. It may not be, since product measurements sometimes describe the stone rather than the complete front, while a bezel rim or prongs add width around it.
Measure the jewelry itself with a millimeter ruler or calipers if it is already in your collection. Use the widest finished edge, including metal. For an online purchase, look for an overall dimension rather than relying on labels such as tiny, mini, or petite, which do not describe how much skin the piece covers.
The 4 mm bezel in the working stack claims most of the available line between the holes. The marquise solves that pressure only when its narrow 2 mm width faces the lower stud. Rotate its 5 mm length sideways and the two fronts overlap on the map, even though neither piece is large.
Draw the footprint before buying
Trace each earring front at full size on paper, or draw it as accurately as the listed measurements allow. Mark the post position within the shape. The post is often centered, but clusters, crescents, and asymmetrical motifs may attach closer to one end, which changes how far the design reaches toward the neighboring hole.
Next, mark two dots at the measured center distance and place the paper fronts over them. Keep the lower bezel centered. Turn the marquise until its slim axis points along the line connecting the holes. A small gap on paper is preferable to edges that meet exactly, since ears move and jewelry does not remain mathematically still through a day of phones, hats, hair, and sleep.
This map also exposes why buying smaller jewelry is an incomplete rule. A 3 mm star may occupy more useful space than a smooth 4 mm disc because its points reach toward the next setting. A curved crescent can tuck around a round bezel despite having a longer overall measurement. The relevant dimension is the amount of front that projects toward its neighbor, not the largest number in the product description.
For jewelry already owned, a quicker version takes about ten minutes. Lay the pieces on white paper, photograph them from directly above beside a ruler, and print or display the image at life size. Move the shapes over a scaled photograph of the ear. This does not predict soft-tissue movement, but it rejects obvious collisions before money changes hands.
Setting height changes the collision point
Front diameter describes the view from above. Setting height describes how far the decorative end rises from the ear. A low-profile setting keeps the stone or metal motif close to the skin, while a basket setting may hold it higher to admit more light beneath a gemstone.
Two wide fronts can occasionally overlap at different heights without touching, but that is a fragile fit. The raised piece may catch on hair, press the neighboring earring when the ear meets a pillow, or lever its own post at an angle. Close holes are usually better served by two low settings with a visible edge gap than by one tall setting hovering over another.
Return to the titanium bezel and marquise. Their narrow-on-wide arrangement works best when the marquise has a flat underside and no deep basket. If its widest point flares near the ear, the paper footprint understates the collision. View a side photograph before buying and look for metal that spreads outward below the decorative face.
A cabochon, which is a stone polished with a rounded top rather than facets, can give the stack dimension without requiring a tall prong setting. Flat metal discs and flush-set stones are other useful options. Height is still worth keeping somewhere else in the ear, where the holes offer more room.
Post angle can move the whole front
A piercing channel, often called a fistula once healed, does not always run perfectly perpendicular to the lobe. If it angles downward, the post follows that path and the decorative front may tip toward the hole below. Closely spaced piercings make this small shift visible.
Insert the existing earrings without forcing them and look straight at the ear. A front that consistently leans, even with adequate post length, is giving useful information about the channel angle. Map its resting position rather than centering it where the hole appears to be.
In the working case, the upper hole points slightly downward. The marquise therefore needs more clearance at its lower tip than the flat drawing first suggests. Turning it a few degrees away from the bezel preserves the gap while keeping the long shape mostly vertical. A round stud offers no comparable adjustment; its edge remains equally close at every rotation.
Post length matters too. An overly long post allows the front to tip and travel, while one that is too short can compress the tissue. Gauge, the thickness of the post, must match the healed piercing and compatible backing. Those fit decisions should come before the decorative plan because a neat front arrangement cannot correct a post that pinches or shifts.
Stagger shape, then repeat material
Close stacks become clearer when adjacent fronts do not share the same outline. Keep the 4 mm round bezel as the visual anchor, then use the vertical marquise to occupy the open direction above it. Repetition can come from material instead: matching titanium tones, the same gold color, or similar stone color will connect the pair without duplicating its footprint.
Avoid placing the widest part of each design on the line between the holes. A pear shape can point its narrow end toward a round stud. A short bar can run vertically. An offset cluster may work if the post sits near the end closest to its neighbor, allowing most of the design to extend into open skin.
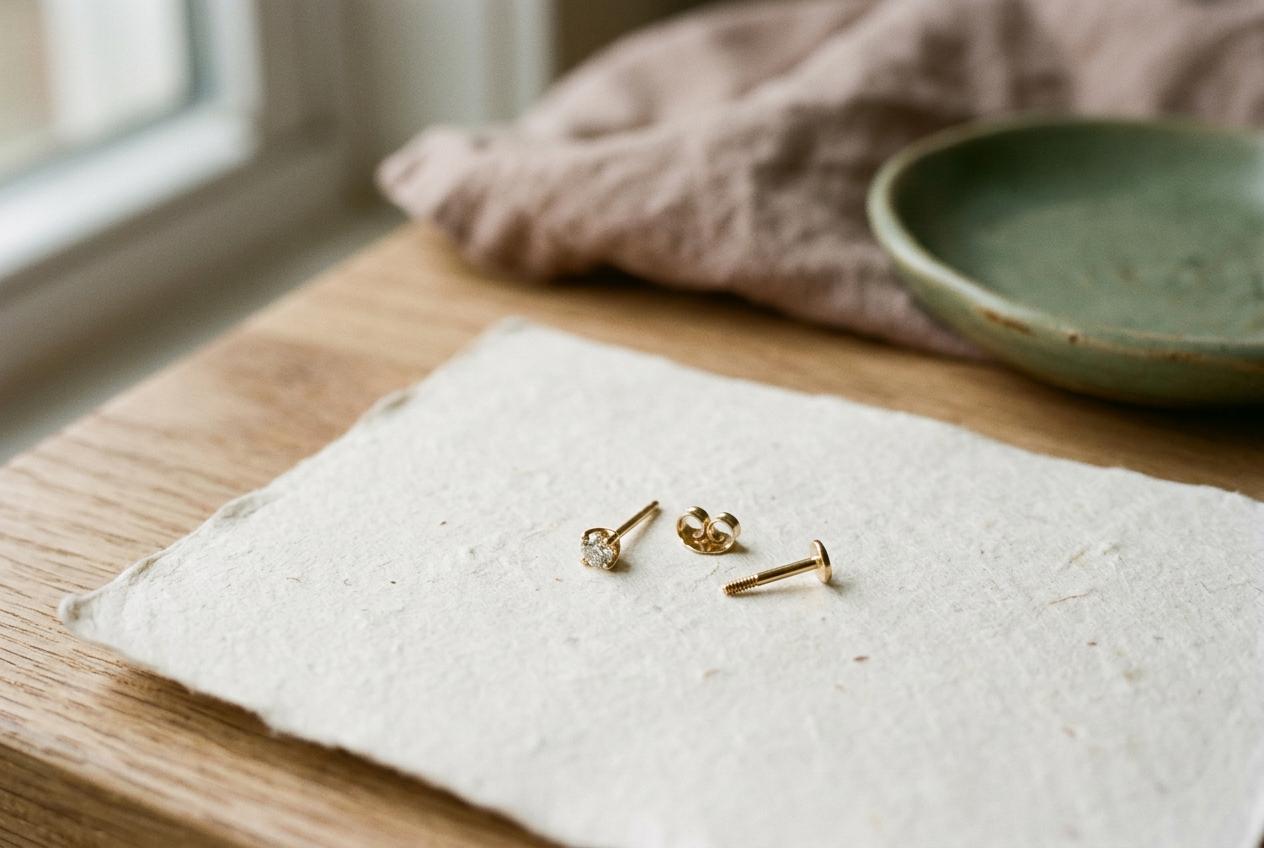
This is where low-profile flat backs earn their place. They remove the protruding butterfly clutch behind the lobe and are often more practical for continuous wear, although the front can still snag if the setting is tall. Threadless jewelry, where a bent pin on the decorative end presses into a hollow post, also lets the wearer rotate directional shapes without unscrewing them. The connection must remain secure and compatible with the post.
Do not rotate or replace jewelry in a fresh or irritated piercing to complete a styling plan. Swelling changes the spacing, and healing jewelry may need extra length. Leave that fit to a qualified piercer, then build the map after the area has settled.
Spend on the fit before the finish
Implant-grade titanium is a practical material for testing the 4 mm bezel and marquise arrangement because it is lightweight and commonly available in flat back systems. Solid gold raises the price substantially, particularly once gemstones or custom ends enter the picture. Confirm the alloy and construction rather than treating gold color or a plated finish as evidence of suitability for long wear.
The economical order is post fit first, inexpensive paper map second, and decorative upgrade last. Check whether an online listing prices the end alone or includes the post and backing, since flat back components are often sold separately. Also confirm the return policy for body jewelry; hygiene rules commonly restrict returns after sealed packaging has been opened.
For the 5 mm spacing in this case, the 4 mm bezel remains worth keeping. The change belongs in the upper hole: a narrow marquise in a low setting gives the round front room without making the whole stack look timid. Two smaller circles would fit, but they would solve the geometry by removing the contrast.
Questions people ask
How much space should sit between two stud earrings?
There is no universal edge gap because ears move and settings vary, but the fronts should not touch in their normal resting positions. Map the finished dimensions, including bezels or prongs, and leave visible clearance. Add more room when one post tilts toward the other or either setting flares near the skin.
Do flat back earrings stop neighboring studs from colliding?
Flat backs reduce bulk behind the lobe, not on the visible side. They can improve stability when the post length fits, yet two oversized fronts will still meet. Front diameter, shape orientation, and setting height determine the collision before the backing style does.
Can
I use a shorter post to keep a stud from tilting?
A properly fitted post may reduce excess movement, but shorter is not automatically better. The jewelry still needs room for the lobe without pressing or embedding. If a healed earring tips despite a sensible length, account for the piercing channel’s angle and choose a narrower or directional front.
Which shape works best beside a round stud?
A vertical marquise, short bar, pear, or carefully positioned crescent can direct its narrow section toward the round front. Check the post location as well as the outline. For the 4 mm bezel in this plan, the 2 mm side of the marquise faces the neighboring hole, while its 5 mm length runs into open space.
One update a day
Today's fashion update, in your inbox
One fashion update each morning — no hype, no filler, just pieces worth wearing.